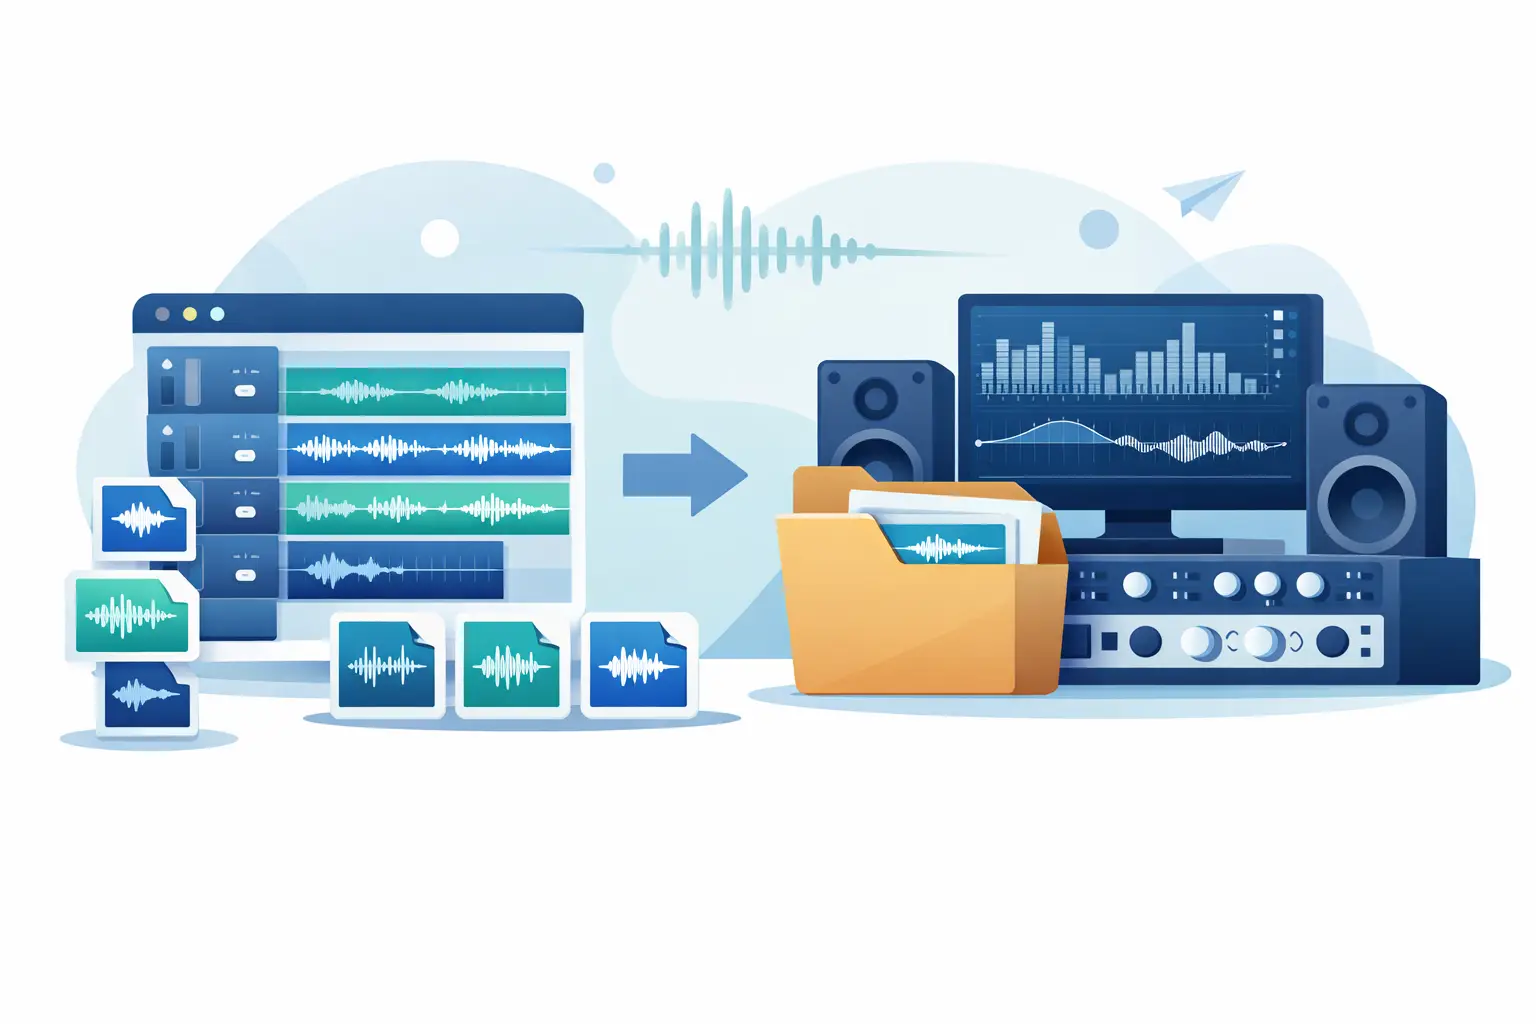
A great mix can become a frustrating mastering job because of one export mistake: the vocal begins late, the reverb disappears, or a limiter is still clamping the drum bus. If you searched how to export stems mastering engineers can actually work with, the goal is not merely making a folder of WAVs. The goal is delivering a complete, time-aligned version of your mix with enough room for meaningful processing.
Stem mastering gives the finishing engineer - or a stem-aware mastering system - access to the musical relationships inside the record. That means it can ride a buried vocal, control low-end buildup between kick and bass, address spectral masking in a crowded chorus, or widen a pad without pulling the lead vocal apart. But those decisions are only as good as the files you export.
Start With the Mix You Want Judged
Before exporting, commit to the arrangement, edits, comping, and sound choices that define the song. Mastering can improve translation, density, dynamics, and balance. It should not be asked to decide whether the second verse needs a different guitar take or whether the lead vocal is tuned.
Listen through your session from top to bottom and fix obvious technical problems first: clicks at edits, accidental clip gain changes, harsh resonances, noisy breaths you meant to remove, and tails cut off at section boundaries. If the mix has a problem you can clearly identify, solve it at the source rather than hoping a final-stage process will disguise it.
Then decide what should remain separate. A practical stem export preserves the controls that matter most to the song. Kick and bass often need independent control. Lead vocals should generally be separate from backing vocals. Drums, music, effects, and vocal effects may need their own stems when their interaction is central to the record.
Avoid exporting every individual track simply because you can. Forty raw tracks can be appropriate for a complex production, but a well-organized set of eight to sixteen musical stems is often more useful. The right number depends on how much mix intent you need to preserve and how much revision flexibility you want.
How to Export Stems for Mastering Without Losing Alignment
Every stem must begin at exactly the same timeline position, even if that stem is silent for the first 20 seconds of the song. Exporting only the audible region of each track is one of the fastest ways to create confusion. A mastering engineer should be able to import all files at bar 1, beat 1 and have the full mix reconstruct perfectly without manual nudging.
Set a common export range. Start a little before the first audible sound if your session has a pickup, count-in effect, or pre-roll texture. End after the final reverb, delay, and instrument tails have fully decayed. Do not trim a vocal stem at its last word if its send effect continues for another four bars.
The most reliable test is simple: import your exported stems into a blank session, line them up at the same start point, and listen. Their sum should null closely or sound indistinguishable from your approved mix, assuming no master-bus processing was included in one version but not the other. If it does not reconstruct correctly, find out why before delivery.
Print Buses, Not Random Pieces of the Session
A stem is a meaningful submix, not just a renamed audio file. If your drum sound depends on parallel compression, drum-bus saturation, and a room mic blend, print those elements together as a drum stem unless you specifically need separate control. The same applies to layered guitars feeding a shared bus or stacked vocal harmonies shaped as one group.
Keep a lead vocal separate when possible. It is usually the most important point of adjustment in a release master, particularly when a dense hook arrives. Independent access allows careful vocal rides and dynamic control without pushing the whole instrumental down.
Effects require judgment. If a delay or reverb is part of the vocal sound, it can live in the vocal stem. If you want the option to change vocal level independently of an enormous throw delay, export the vocal dry or mostly dry and print the vocal effects as their own aligned stem. There is no universal rule. Preserve the creative decision, while leaving separation where it serves a real purpose.
Leave Headroom, But Do Not Make the Mix Timid
Export at the session's native sample rate and bit depth whenever possible. For most modern projects, 24-bit WAV is a sensible delivery format. A 32-bit float export can be useful when a workflow specifically supports it, but it is not a substitute for correct gain staging. WAV is the safest default because it is widely supported and avoids the compromises of lossy encoding.
Do not normalize stems. Normalization changes the level relationship between files, which defeats the point of delivering a mix. Leave all faders and bus balances exactly as approved.
You also do not need to chase an arbitrary peak target such as -6 dBFS. What matters is that the stems are not clipping and that they retain workable dynamic range. If your mix peaks around -3 dBFS with no clipping and no aggressive limiting, that can be perfectly usable. If every stem is crushed to within a fraction of full scale, there is little room to improve punch or manage true peaks later.
Know What to Do With Master-Bus Processing
This is where otherwise clean deliveries go wrong. If your master bus has a limiter, clipper, loudness maximizer, or aggressive glue compressor, bypass it for the main stem export unless that processing is essential to the sound. A mastering stage cannot restore transients already flattened by a hard limiter.
Some master-bus processing is part of the mix identity. A subtle tape color, half-dB of bus compression, or tonal EQ may be intentional and worth keeping. The trade-off is control: once that processing is printed across every stem, it cannot be adjusted independently.
When in doubt, export two references. Print one full stereo mix with your approved master-bus chain for creative context. Then export the aligned stems with loudness processing bypassed. Name them clearly so nobody mistakes the reference for the working source.
Be especially careful with processing that lives on shared returns or mix buses. If you export stems through the full master chain one at a time, the limiter may react differently to each isolated stem than it does to the complete mix. That can change tone, pumping, and level relationships. Usually, stem exports should bypass final master-bus limiting while retaining the processing that belongs to each stem's own bus.
Name Files Like Someone Else Has to Open Them
A clean naming system prevents avoidable errors. Put the artist or project name first, followed by the song title, version, tempo if relevant, and stem role. For example: `Artist_SongTitle_V3_LeadVox_24bit_48k.wav`.
Use plain, consistent role names such as Kick, Bass, Drums, LeadVox, BGV, Music, FX, and Print. Do not rely on vague labels like “audio 12 final final” or “blue bus.” If alternate versions exist, say what changed: `VocalUp`, `Clean`, `Explicit`, or `NoLimiter`.
Include a short text note when the song contains a choice that is not obvious from the audio. Mention the intended loudness reference, any deliberately distorted element, a section that should remain restrained, or a vocal effect that must not be reduced. That is not hand-holding. It is useful production direction.
Run a Delivery Check Before You Commit
Play each exported stem on its own. Listen for missing sends, muted clips, abrupt cutoffs, and files that accidentally include the wrong bus. Then play the reconstructed set against your stereo reference at matched loudness. Louder almost always sounds more exciting, so level matching matters if you want an honest comparison.
Check that all files share the same sample rate, bit depth, length, and start time. Confirm there are no clipped samples unless clipping is an intentional sound-design decision. Finally, make sure the folder contains only the current approved version. Old alternates create the kind of uncertainty that turns a fast mastering pass into an email thread.
A stem-aware tool such as StemMaster can use those clean, aligned exports to make targeted decisions - vocal rides, spectral unmasking, mono-bass fold below 120 Hz, and 4× oversampled true-peak limiting - while leaving the reasoning visible and the final balances adjustable. That only works when the source material tells the truth about your mix.
Your export folder is not paperwork after the creative work. It is the handoff between your production decisions and the record listeners will hear. Build it carefully, reconstruct it once, and you can move into mastering with control instead of guesswork.